A Detailed Mathematical Analysis of Chicken Grain Cost

Elizabeth Rennert - rgf Staff

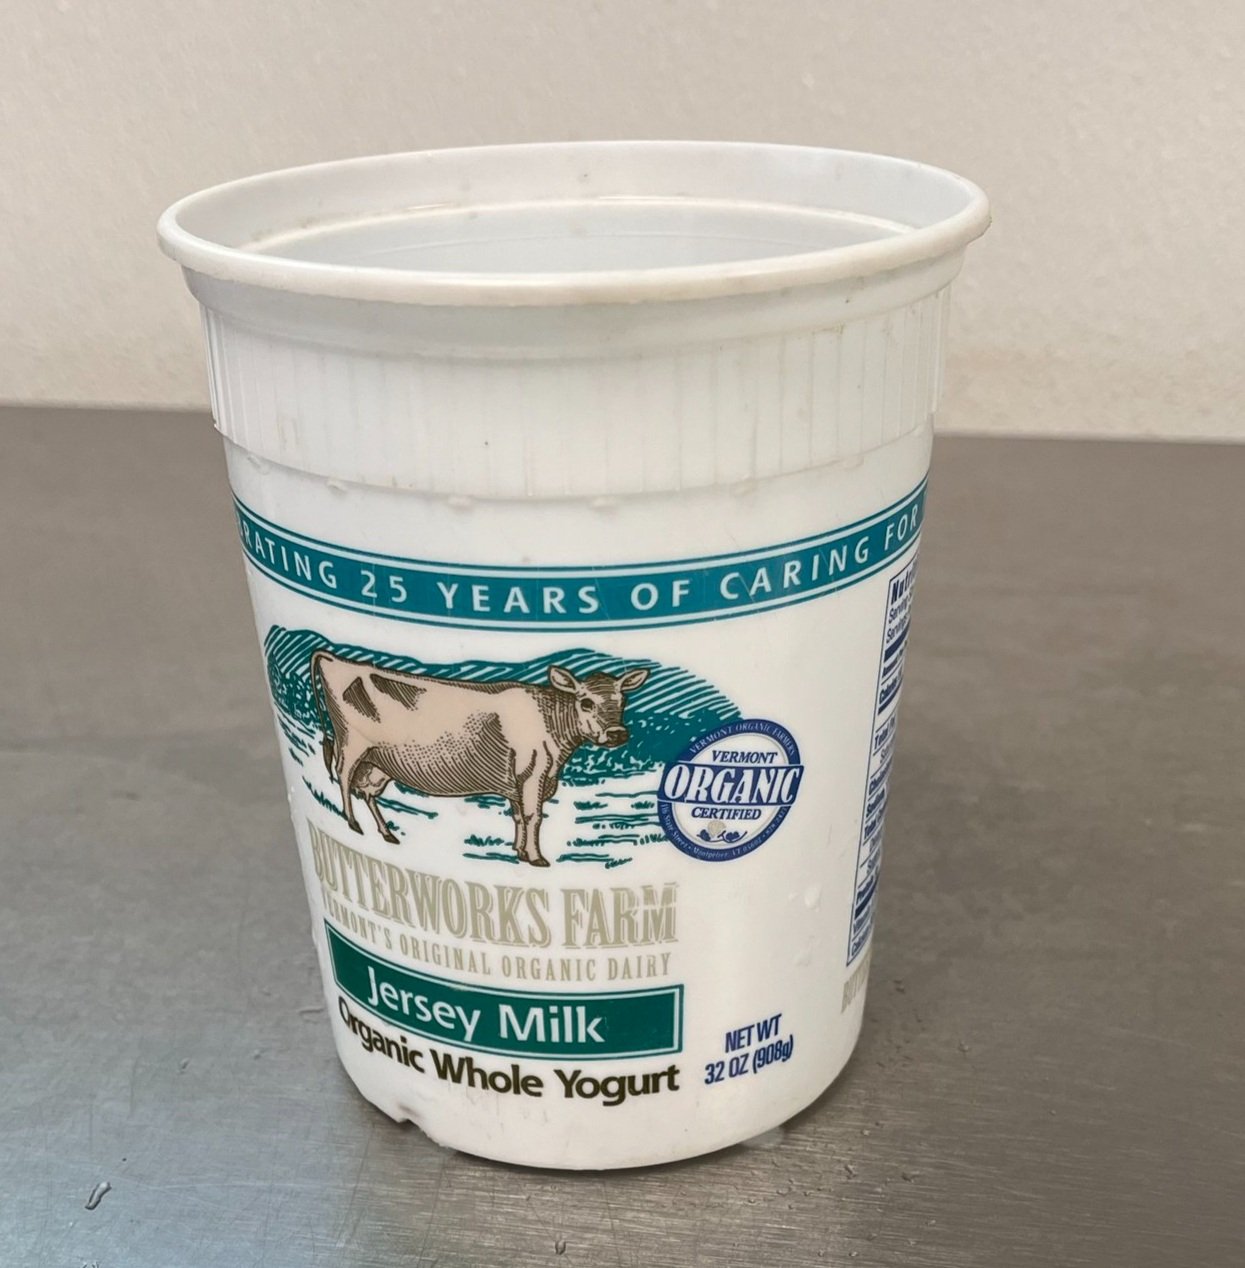
For a while, Red Gate Farm has mixed our own chicken grain, after purchasing each of the components (corn, soy, barley, etc.) separately. Recently, however, we’ve switched our chickens over to premade Poulin Grain layer pellets.

My goal is to figure out which is more cost-effective, mixing our own grain or buying premade pellets. Since I already have the price per 50 pound bag of the layer pellets, I want to calculate the cost of 50 pounds of our mixed chicken grain.

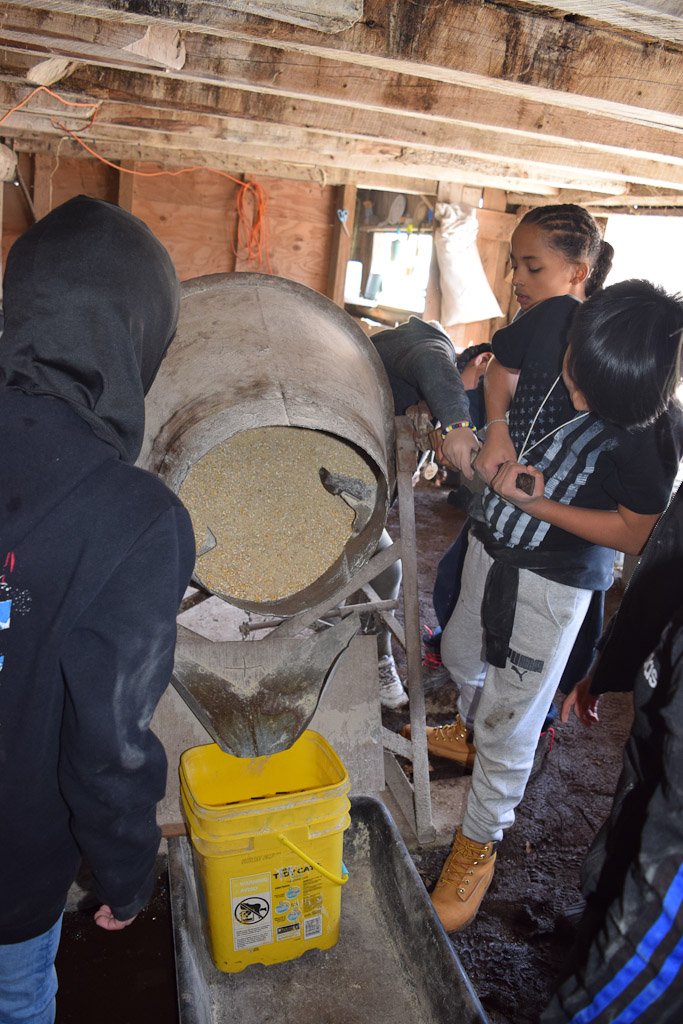
To start off, I have to figure out how much of each component went into one batch of grain. When mixing, we have buckets marked with lines to fill up to. In order to convert these lines into volume, I used a known measurement of water and kept adding until the line was reached. After having the volume in cups, I converted these quantities to gallons.

Since the goal is to figure out cost, and we purchase the components by weight, I have to convert volume to weight. I did this by weighing out a known volume of each component and calculating the density. By multiplying the volume per batch by the density, I got a list with the weight of each component in one batch of grain.

Then, I found the price of each component, and what quantity (in pounds) we buy them in. This allows me to calculate the price per pound. And with price per pound and pounds per batch, I can multiply to find the cost per batch by components.

The total cost for one batch of mixed grain is $23.22 and the total weight of one batch is 67.3 pounds. I can use proportions to find the cost per 50 pounds of mixed grain.

Without further ado, here are the results!

50 pounds of our mixed grain costs $17.25. One 50lb bag of layer pellets costs $16.59 so there is a price difference of only $0.66 per 50 pounds!

A Completely Logical (and not at all biased) Ranking of Different Plant Pots

Elizabeth rennert - rgf staff

Winter at the farm means it’s almost seed-starting time! Before many of our wonderful veggies make their way into the garden ground, they first begin their journey as individual seeds in small pots nurtured to life in the greenhouse.

Each of the hundreds of pots needs to be washed out and sanitized to remove all remnants of last season’s plantings, before we put any new seeds in them. This helps prevent disease and fungus from running rampant through our baby seedlings. I undertook this project with eagerness, spending almost a day and a half at the sink–sorting, spraying down, and scrubbing all the plant pots to the best of my ability. As my shirt got soaking wet with water spray, and my fingers turned to raisins, I began to develop some very strong opinions about which plant pots were best and which were worst. Opinions based almost entirely on how easy it is to clean them.

Without further ado, here is that completely logical (and not at all biased) ranking:

The worst of all, at the very bottom of the ranking, are the circle green quart pots made out of thin plastic. 0/10

Absolute trash! Terrible plant pots. The flimsy plastic makes them impossible to scrub without cracking! The ridges on the sides are a magnet for the gross filmy dirt that doesn’t scrub off and the drainage holes in the bottom are just sharp plastic snaggy bits. The raw plastic edges scrap your fingers and shred the sponge to pieces. And who thought that putting a lip on the inside of a plant pot was a good idea?! The dirt just keeps rolling around forever with no corner to stop in!

Still bad, but a step above are the 72-count seed flats with the conical segments. 2/10

Just too long to fit in the sink, it takes a Tetris champion to get the whole tray wet. Each of the different sections is like the worst part of dishwashing–the surprise soaking when a spoon hits the water at the wrong angle! You need a natural 20 acrobatics roll to avoid all the water spray and end with dry clothes. But even the spray of the water isn’t enough to clean all the grime, so each one of the tiny sections needs to be scrubbed by hand! All 72 sections! (Plus the bottoms too)

The tray with small drainage holes for holding seed blocks are mid-tier at best. 5/10

These aren’t even real pots! They’re just plastic trays with lines across them! I swear that these trays were dipped with the dirt equivalent of glitter. Every time I thought I had gotten the last bit of dirt, another clump appeared from some other dimension! Where did all the dirt come from? Where?!

An acceptable choice is the classic quart yogurt container with holes punched in the bottom for drainage. 6/10

Bonus points for upcycling I suppose, but the white plastic held onto dirt so well that I thought for sure the pots were beyond saving! Although eventually I got the pots clean, I had to scrub with an intensity rivaling the blaze of a thousand suns. Was it worth it? The sponge was in pieces, my fingers sore, and all for a yogurt container.


My favorite, and objectively the best plant pot is the black, hard plastic, quart containers with eight drainage holes! 11/10

So sturdy that I could build a tower with no fear of collapse! Bonus drainage holes in the corners (something I’d never thought I would be excited about) allow the dirty water to drip right out! The smooth plastic sides, minimal texture, nice crisp corners, and beautiful square shape are a marriage between design and engineering, creating a beautiful and functional plant pot. All other pots should be banished to the ether, and replaced with these works of art! In fact, all containers should be replaced with these! Shopping baskets, laundry hampers, pencil cases! Backpacks, toolboxes, even waterbottles! (The waterbottles might be a bit messy, but I think it’s worth it) No better plant pot has ever, can ever, or will ever, exist!

Firewood Length Optimization

Elizabeth RennErt - RGF staff

Hello, I am Elizabeth! At Red Gate, I have been a summer camp counselor, a volunteer, a part-time teacher, and now an intern! I’m a student at Smith College, studying both engineering and education, with a special passion for the outdoors. I’m so excited to share my view of the farm with all of you!

If you’ve been by Red Gate anytime in the past couple months, you’ve surely seen our wood stove chugging away. Our stove works hard to heat the program building, the roost, and the farmhouse. Heating all those spaces to a comfy temperature takes a lot of firewood! 

Throughout the year, we spend hours up at our wood processing site on Norman Road. There are many steps to turn big logs into firewood that can fit in our stove, and this is the story of that process (Plus a little math for extra fun!)

We get truckloads of logs delivered from local lumber suppliers, as well as collecting some of our own from trees that have been felled on the property. These logs are huge, and stacked in a big pile many feet high.

Our expert chainsaw users hop on the pile and buck up the wood. Bucking is the process of cutting a long log into many shorter rounds. This allows us to move the wood with significantly more ease. 

The rounds, however, are still much too big to move long distances and are rather unwieldy. Using a hydraulic wood splitter, we split the rounds into thinner pieces of firewood.

The hydraulic wood splitter uses a very slow-moving axe head and pushes against the log in the same direction of the grain. This takes advantage of the natural tendency of wood to split along the grain. 

We still have a little ways to go until the wood makes its way into the stove. Since all this firewood is still fairly fresh and moist, we need to stack it and allow it to dry out before we burn it. These stacks of firewood will sit, covered by metal roofing, at the wood processing site for about a year until they are fully seasoned. 

After they are seasoned, we will bring them down to our new “woodhouse”, a greenhouse structure that we store firewood inside of. This is right next to the stove and makes loading the stove very easy, which is great, since we have to load it three times a day! 

And that’s how wood gets from a tree to our stove.

…Now for some math!


This blog post was inspired by an optimization question posed to me. What is the ideal length of firewood for Red Gate Farm? We want it to be as long as possible, while still fitting in both the wood splitter and wood stove, as well as maximizing stackage in the woodhouse. 

In order to find the optimal length, I went out into the field and took some measurements. The wood splitter can split logs up to 25 inches in length, the wood stove has a depth of 34 inches, and the woodhouse cross-section can be modeled by a rough semicircle with a diameter of 16 ft. 

From here, it’s clear that the wood splitter is the limiting factor in the process. Additionally, we have to account for the fact that some rounds will be cut slightly longer than the measurement to minimize waste. I accounted for this by estimating that the maximum overage would be about 10%. This results in a maximum length of 22.72 inches. I rounded down to 22.5 inches for ease of calculation.

I still had to check that it would stack nicely in the woodhouse, ensuring that we were making the most of our space. In order to do this, I graphed a semicircle, then overlaid vertical lines spaced 22.5 inches (1.875 ft) apart. By finding when the lines intersected with the semicircle, I was able to mark out the maximum height of each stack. 

Since we need to be able to walk through the woodhouse, one column was removed, creating five stacks, a walkway, then another two stacks.

This gives a stacking cross-sectional area of 74.19 square feet. Since the total cross-sectional area is just of 100 square feet, this gives us a stacking efficiency of 74%! Using the length of the woodhouse as 48 feet, I was able to calculate that our woodhouse could hold 3561.12 cubic feet of wood, or 27.8 cords. That’s a lot of wood!

This means that when we’re bucking up the logs into rounds, we should aim for a length of 22.5 inches between cuts for the ideal pieces of firewood!

Spring at Red Gate

By Elizabeth Rennert

CROCUSES BLOOM IN A MUDDY SPRING GARDEN

Spring has sprung on the farm, and new life is bursting forth in all directions. The winter snow is melting away, revealing the green grass and brown soil below. Colorful buds are shooting up, indicating the abundant growth beneath the ground. A walk through the garden reveals snow drops, and crocuses, and the first daffodil buds as well as empty-looking beds soon to be filled with vegetables, flowers, and herbs.

One of the most exciting signs of spring on the farm is the arrival of new lambs. The barn is a flurry of activity as the ewes give birth to their adorable, fuzzy little babies. The lambs are born wobbly and unsteady on their feet, but they quickly gain their footing and begin nursing. The barn is filled with the sounds of bleating lambs, exploring their new world, and getting to know each other.

oNE OF THE FIRST LAMBS BORN IN 2023

The arrival of school programs brings a certain liveliness to the farm as kids explore the new program building, and experience the first overnight winter programming. Students snowshoe out to check on the maple tree taps, shovel paths through the remaining snow, and watch with hushed anticipation as a ewe gives birth.

sTUDENTS HELP REPAIR AND SORT GARDEN SIGNS

Spring on the farm is a time of growth, when the world is filled with new beginnings and endless possibilities. The arrival of new life, from the lambs in the barn to the crocuses in the field, fills us with admiration for the joys of nature and the beauty of the world around us.

students plant carrot seeds in the garden